

Want to set up a Raspberry Pi 4 with Raspberry Pi OS? This step-by-step guide will show you how to install the operating system using a Windows machine.
Affiliate Disclosure: This post may contain affiliate links, which means I may earn a small commission if you purchase through those links at no extra cost to you. I only recommend products and services I personally use or believe add value. Thank you for supporting AlexTripp.tech!
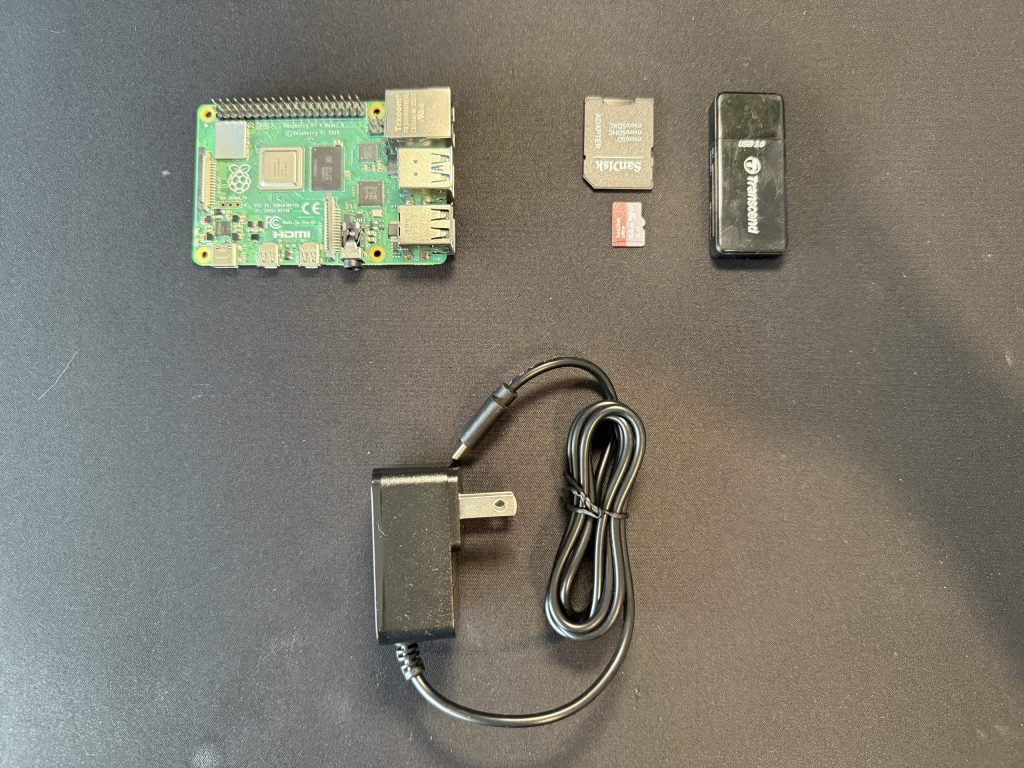
What You’ll Need
- Raspberry Pi 4 (also works with Pi 3 and Pi 5)
- MicroSD card (Class 10, 16GB or larger – I use SanDisk Ultra 16GB)
- MicroSD to USB adapter
- Power cable for your Raspberry Pi
- A Windows computer
- A Wi-Fi network (for headless setup)
- (Optional) Micro HDMI adapter and keyboard (if not using SSH to connect)
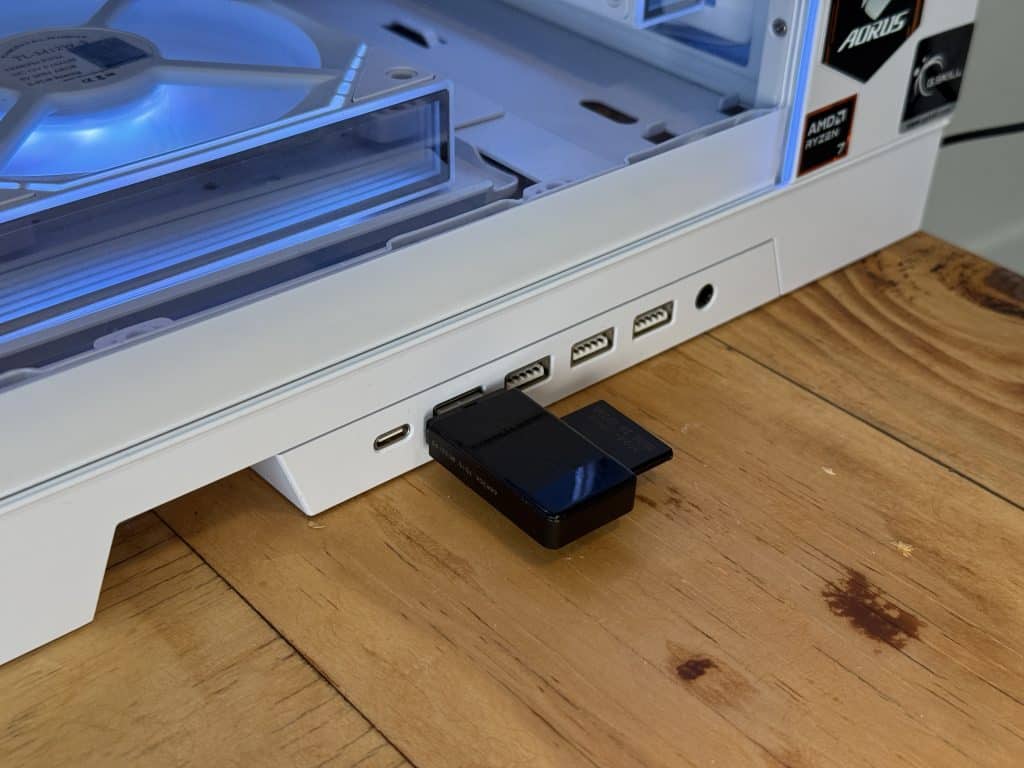
Step 1: Prepare the microSD Card
- Insert the microSD card into the USB adapter and connect it to your Windows PC.
Step 2: Download the Raspberry Pi Imager
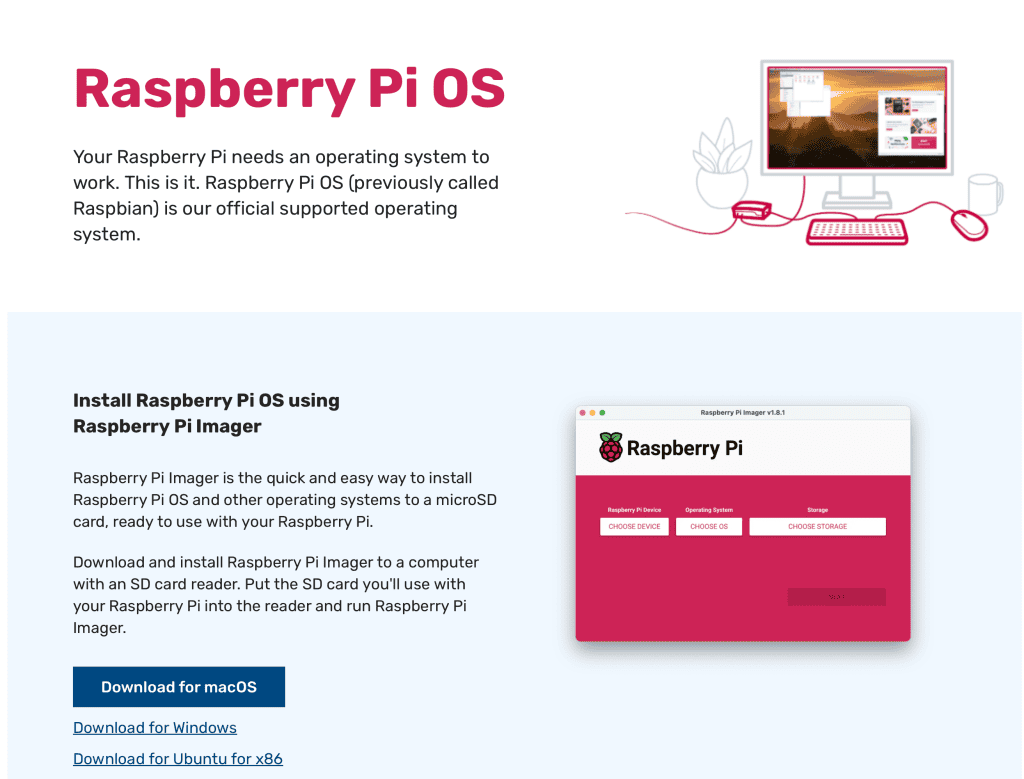
- Visit the official Raspberry Pi software page and download the Raspberry Pi Imager.
Step 3: Install the Imager
- Open the downloaded file and follow the prompts to install the software.
- Once installed, the Raspberry Pi Imager will launch automatically.
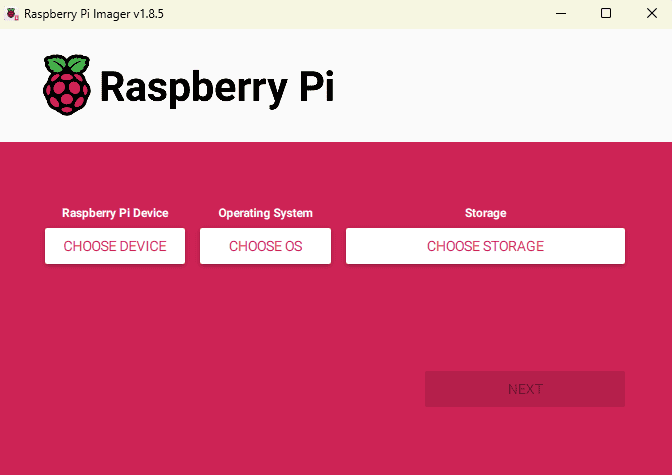
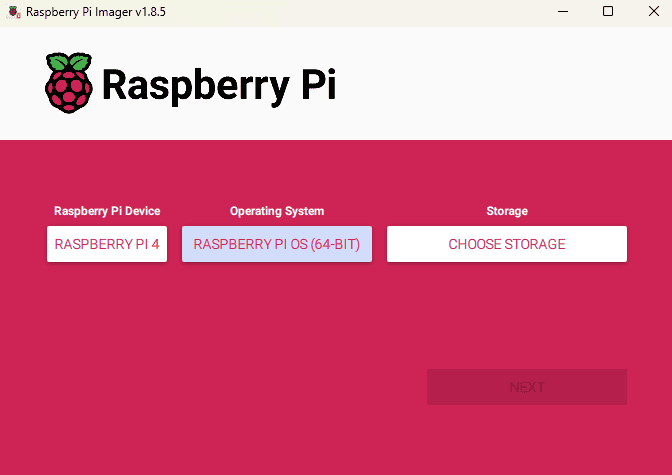
Step 4: Select the Device and OS
- Click Choose Device and select Raspberry Pi 4 (or the model you are using).
- Click Choose OS and select Raspberry Pi OS (64-bit).
Step 5: Configure Storage and Customizations
- Click Choose Storage and select your microSD card.
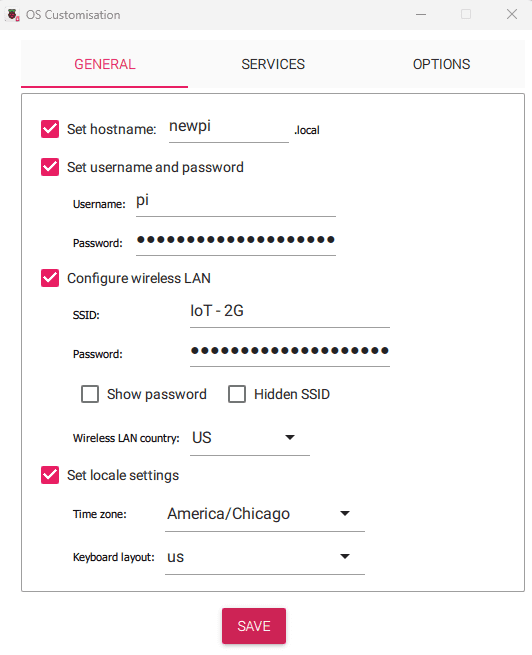
- Click Next and then Edit Settings to:
- Set Wi-Fi credentials
- Enable SSH (Under Services)
- Set a hostname, username, and password
- Select your timezone
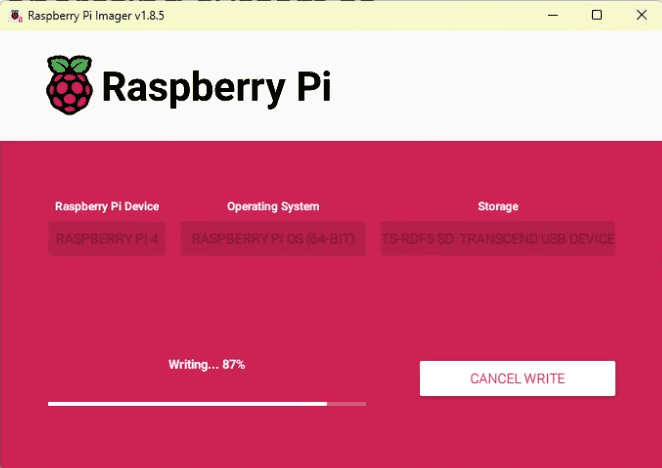
Step 6: Burn the OS to the microSD Card
- Click Save and confirm the customizations.
- Confirm again when asked if you want to continue.
- The Imager will write and verify the OS on your microSD card.
Step 7: Eject the SD Card
- Once completed, the software will eject the microSD card automatically.
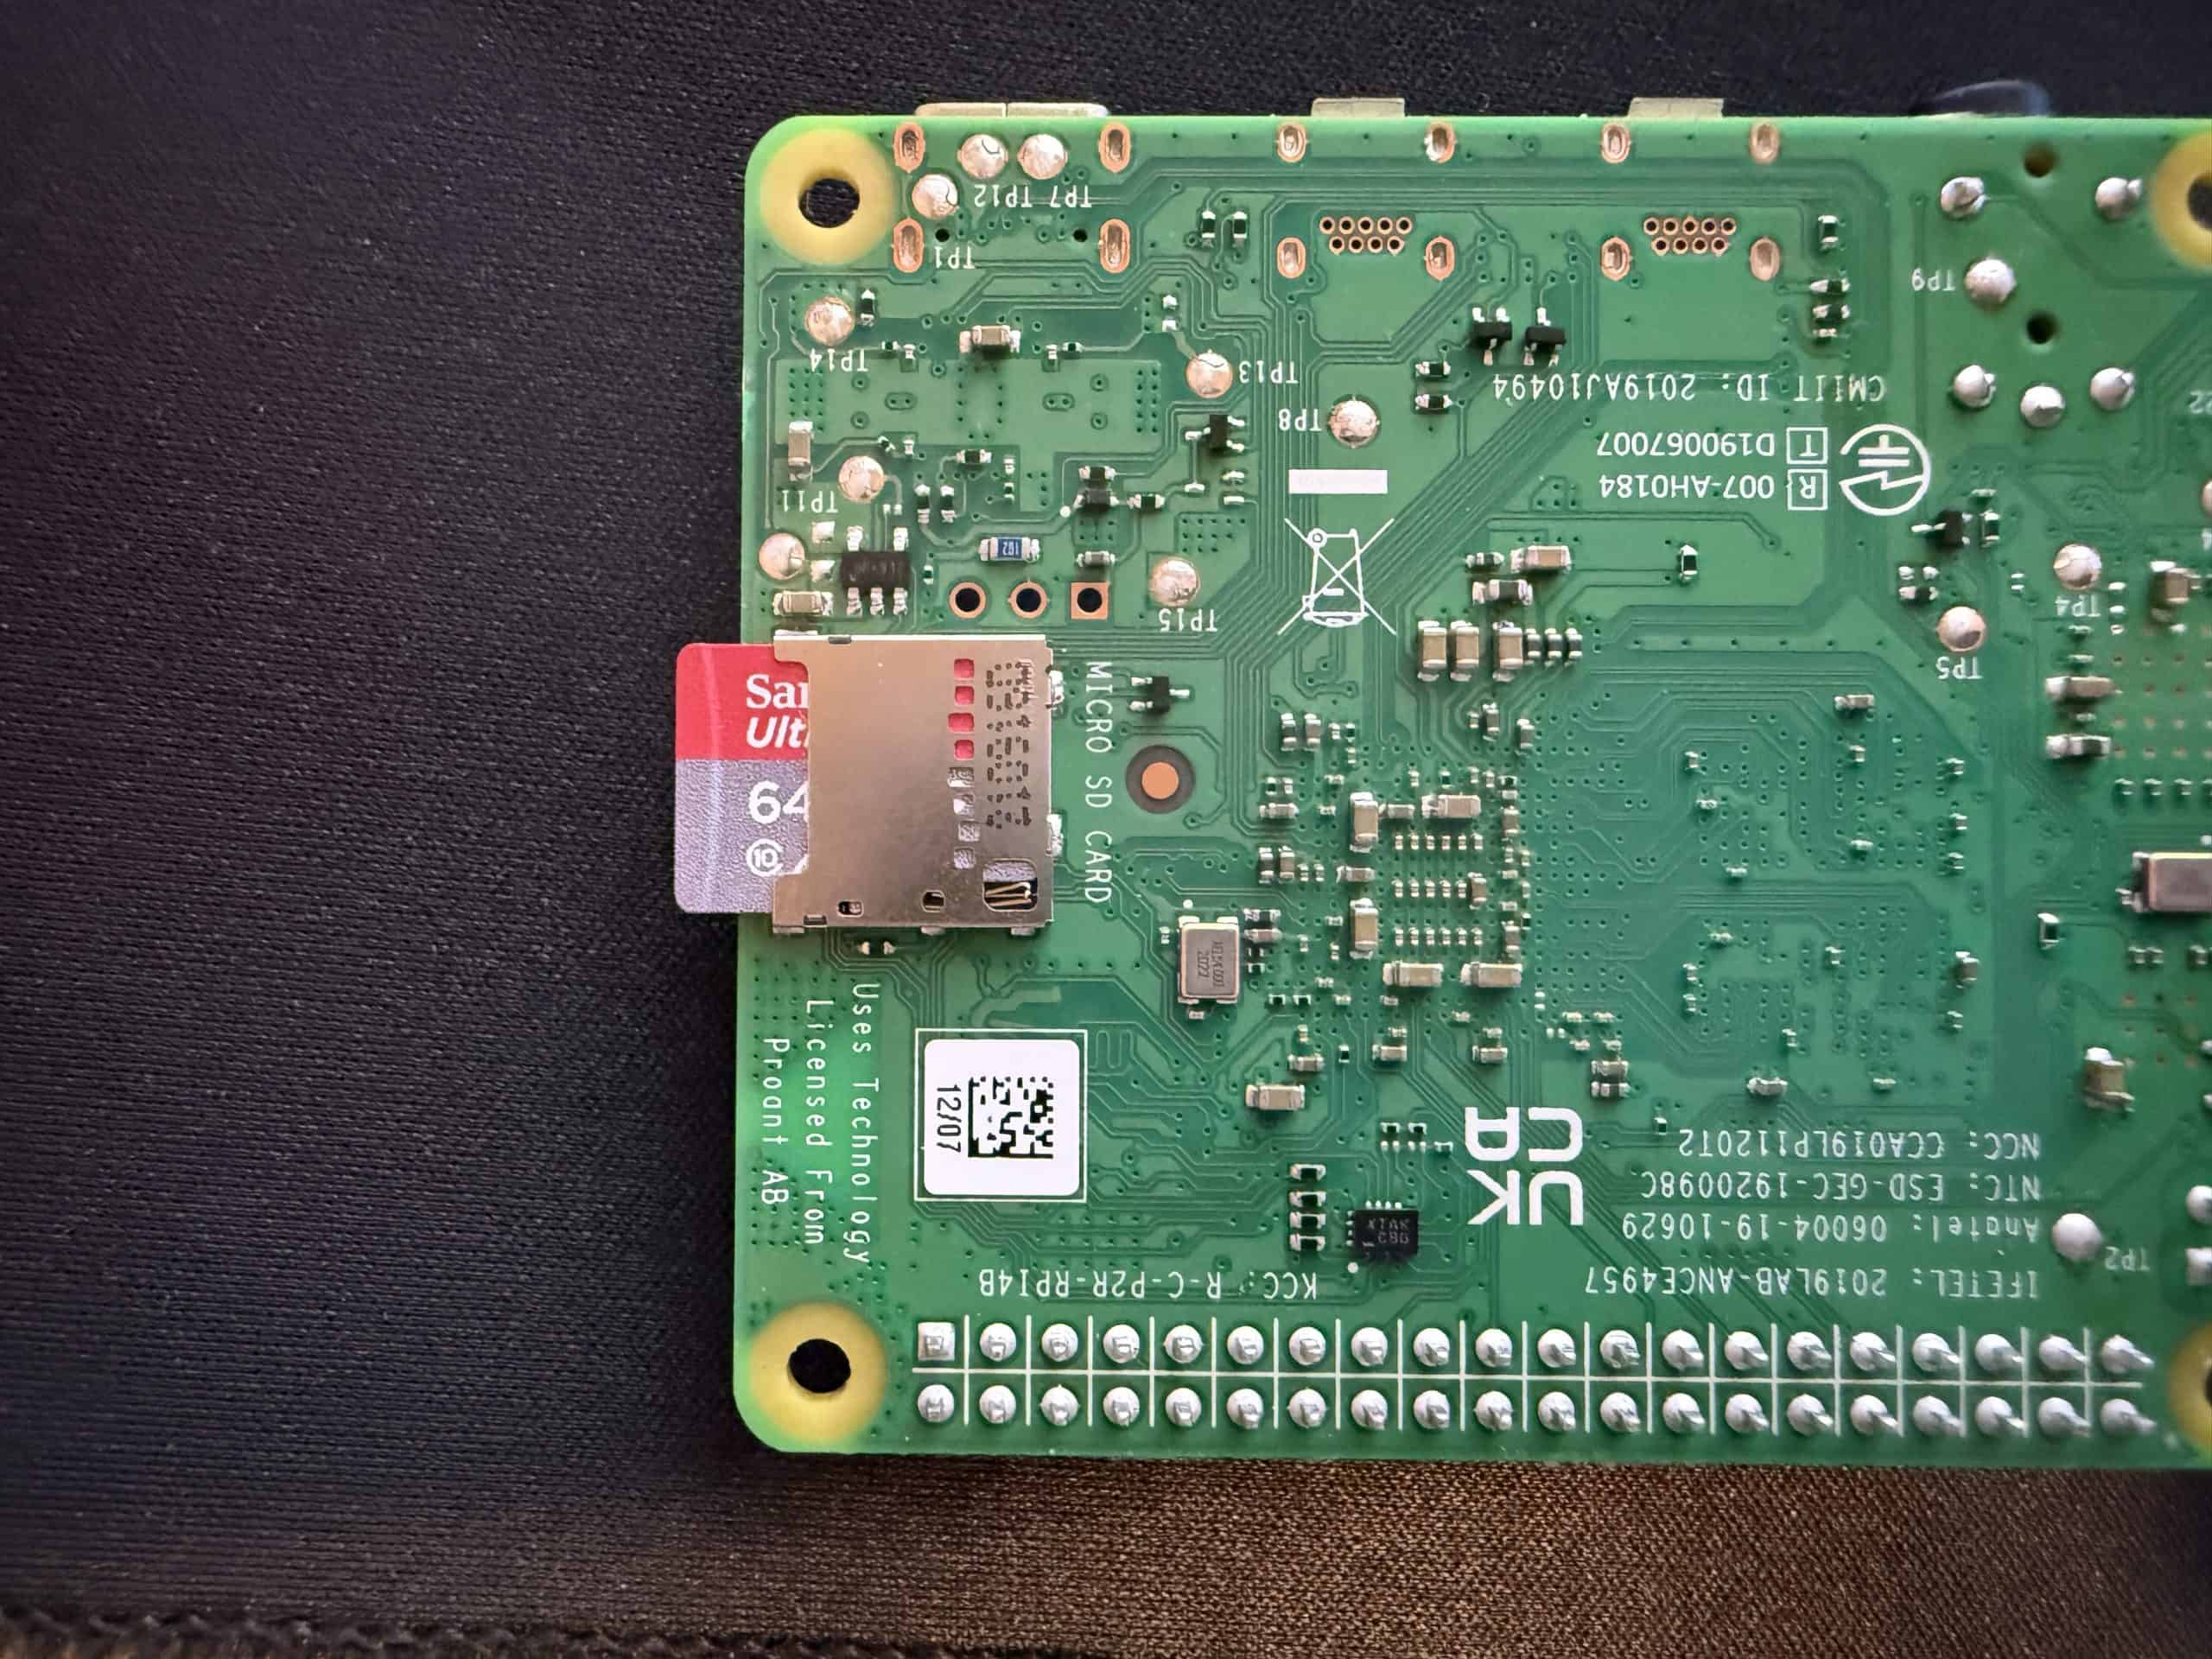
- Remove the microSD card from the adapter and insert it into your Raspberry Pi.
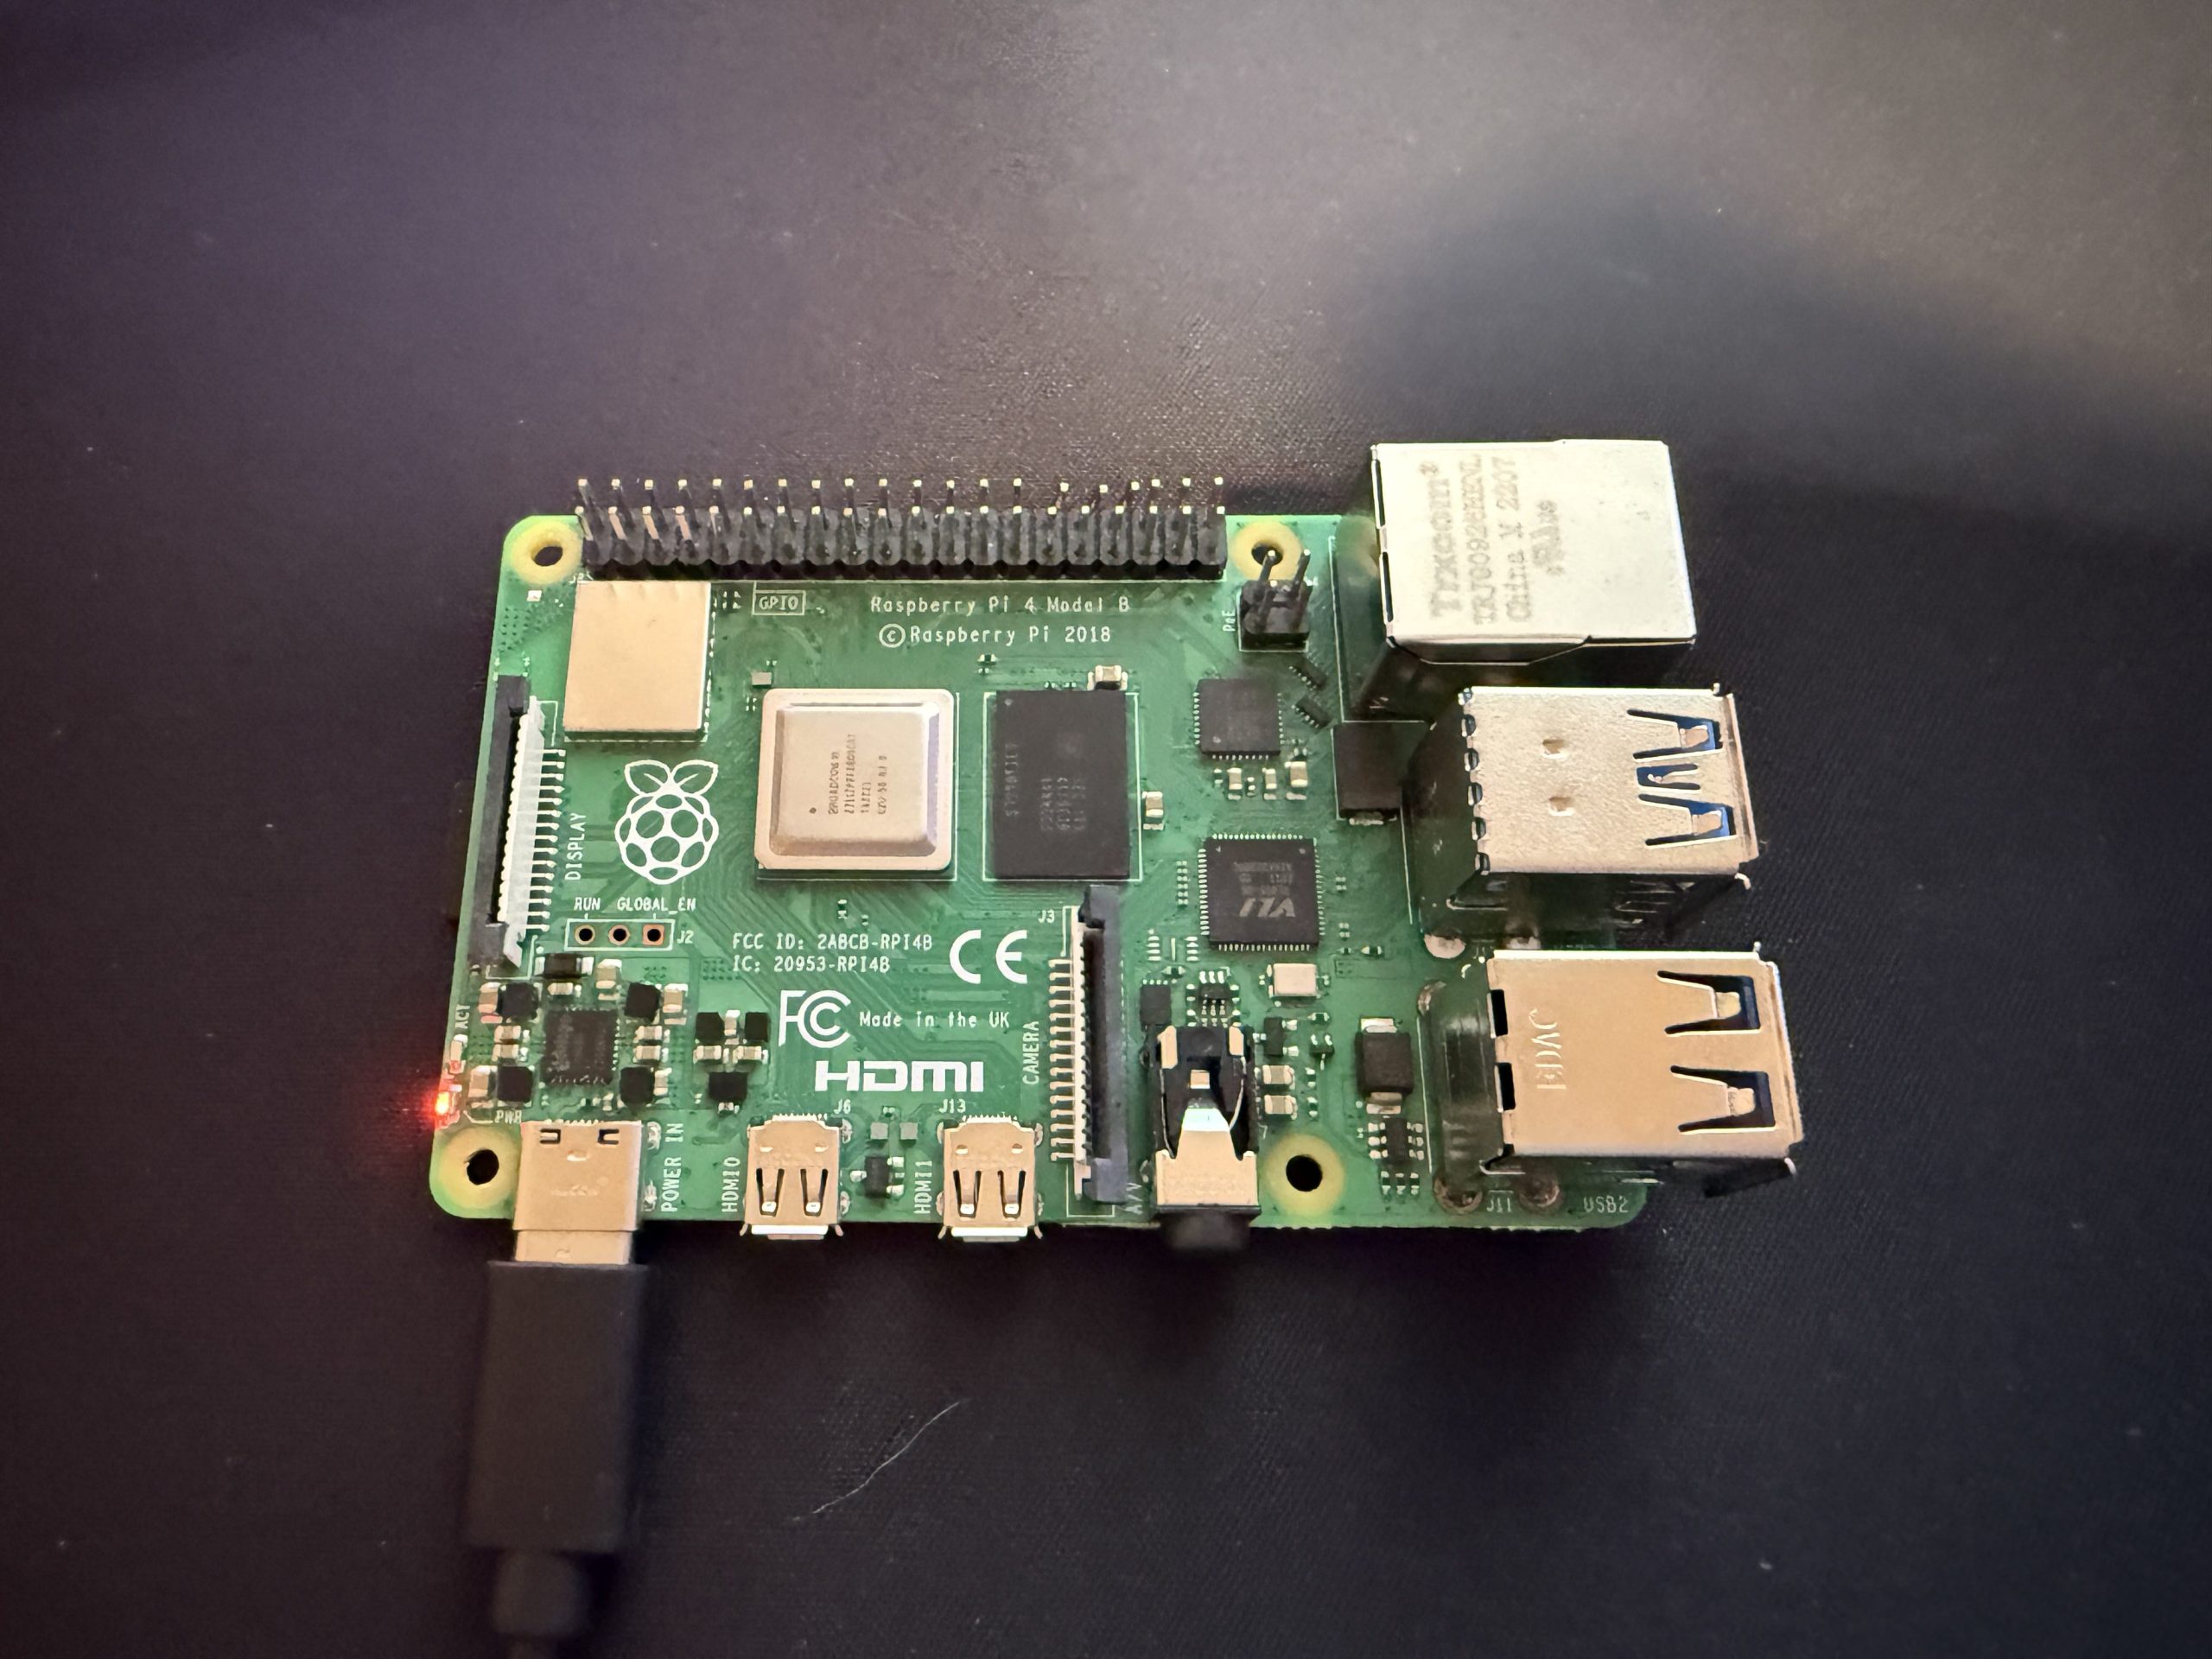
Step 8: Power Up the Raspberry Pi
- Connect the power cable to your Raspberry Pi.
- Wait a few minutes for the device to boot up.
You’re All Set!
You’ve successfully installed Raspberry Pi OS on your Raspberry Pi! Now you can hook a monitor and keyboard up to it or SSH in with a tool like Putty and begin installing your software!
Stay tuned for more smart home and tech tutorials here on AlexTripp.tech!