Introduction
Tracking utility usage in Home Assistant provides valuable insights into consumption patterns and helps optimize energy use. While smart electricity meters often have integrations, gas meters are less standardized, making direct integration difficult. This led me to explore alternative solutions, ultimately landing on Software Defined Radio (SDR) as a method to capture and decode my gas meter’s wireless transmissions.
Why I Wanted to Track My Gas Meter in Home Assistant
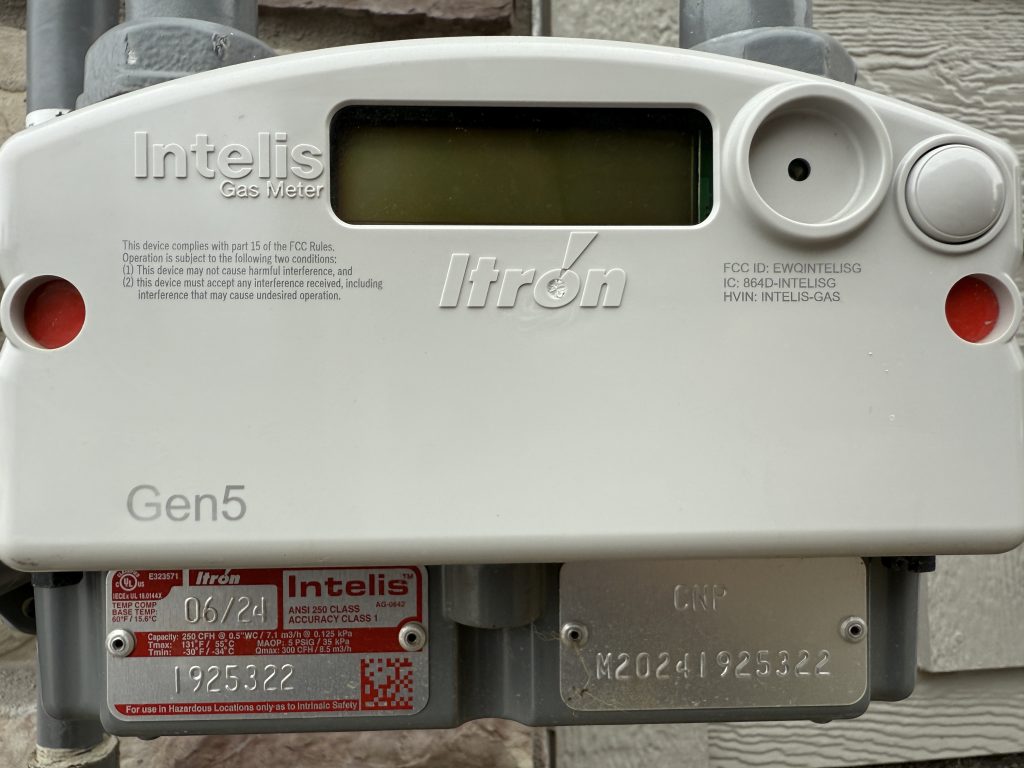
Understanding gas usage is essential for energy management, but many gas meters lack native smart features. Unlike electricity meters, which often have APIs or built-in Zigbee support, gas meters frequently rely on proprietary communication methods. Capturing and logging this data in Home Assistant would allow for better tracking, automation, and analysis.
Challenges With Traditional Gas Meter Integrations
Most gas meters don’t have direct integrations with Home Assistant. Utility-provided smart meter solutions often rely on proprietary apps or cloud services, limiting access to real-time data. Hardware-based solutions like pulse sensors require physical modifications, which are not always feasible, especially for rental properties. SDR provides a way to passively intercept and decode meter data without modifying the meter itself.
Why Use Software Defined Radio (SDR)?
Overview of SDR and How It Can Capture Wireless Signals
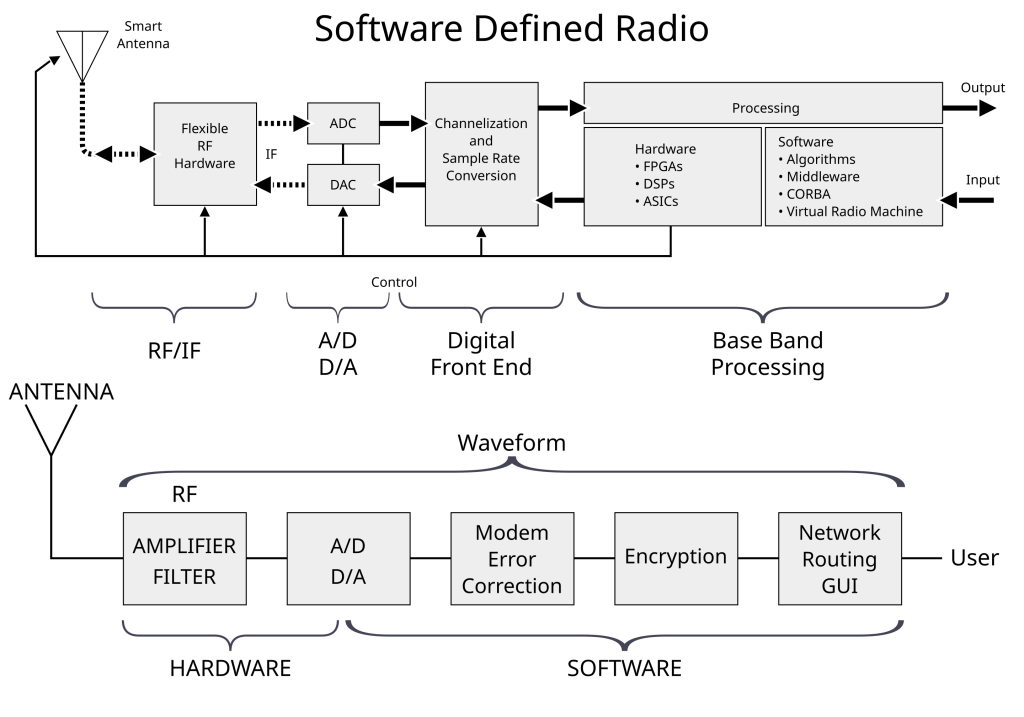
SDR is a technology that allows software to process radio signals traditionally handled by dedicated hardware. By using an SDR receiver, it’s possible to scan for and decode radio signals from wireless sensors, including those used by some gas meters. Many meters transmit data over unlicensed frequencies, making them accessible for local monitoring.
Advantages of SDR for Gas Meters vs. Other Solutions
- No physical modifications: Unlike pulse sensors or wired solutions, SDR works without altering the meter.
- Passive data collection: Since SDR only listens for signals, it avoids issues with utility regulations.
- Flexible and reusable: SDR can be used for multiple applications beyond gas meter monitoring, such as tracking temperature sensors or weather stations.
First Attempt: Initial Setup and Challenges
My first approach and the hardware/software used
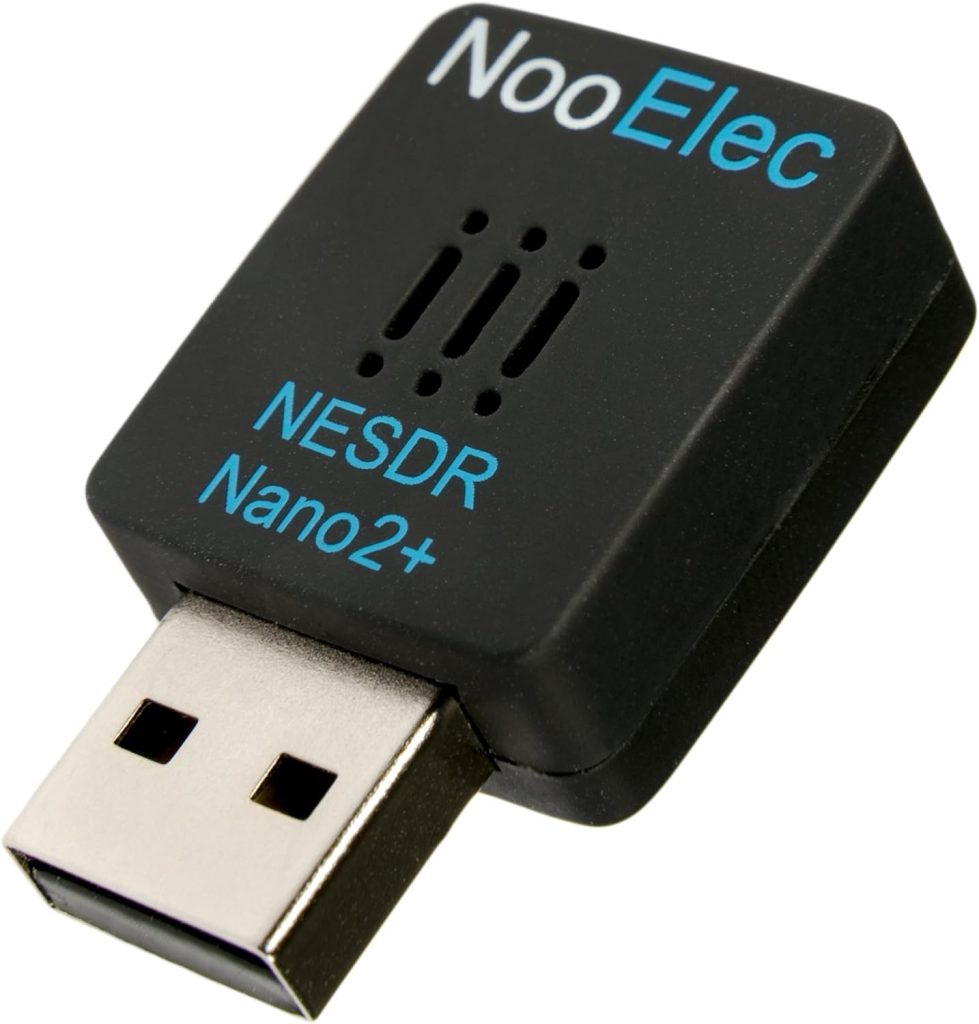
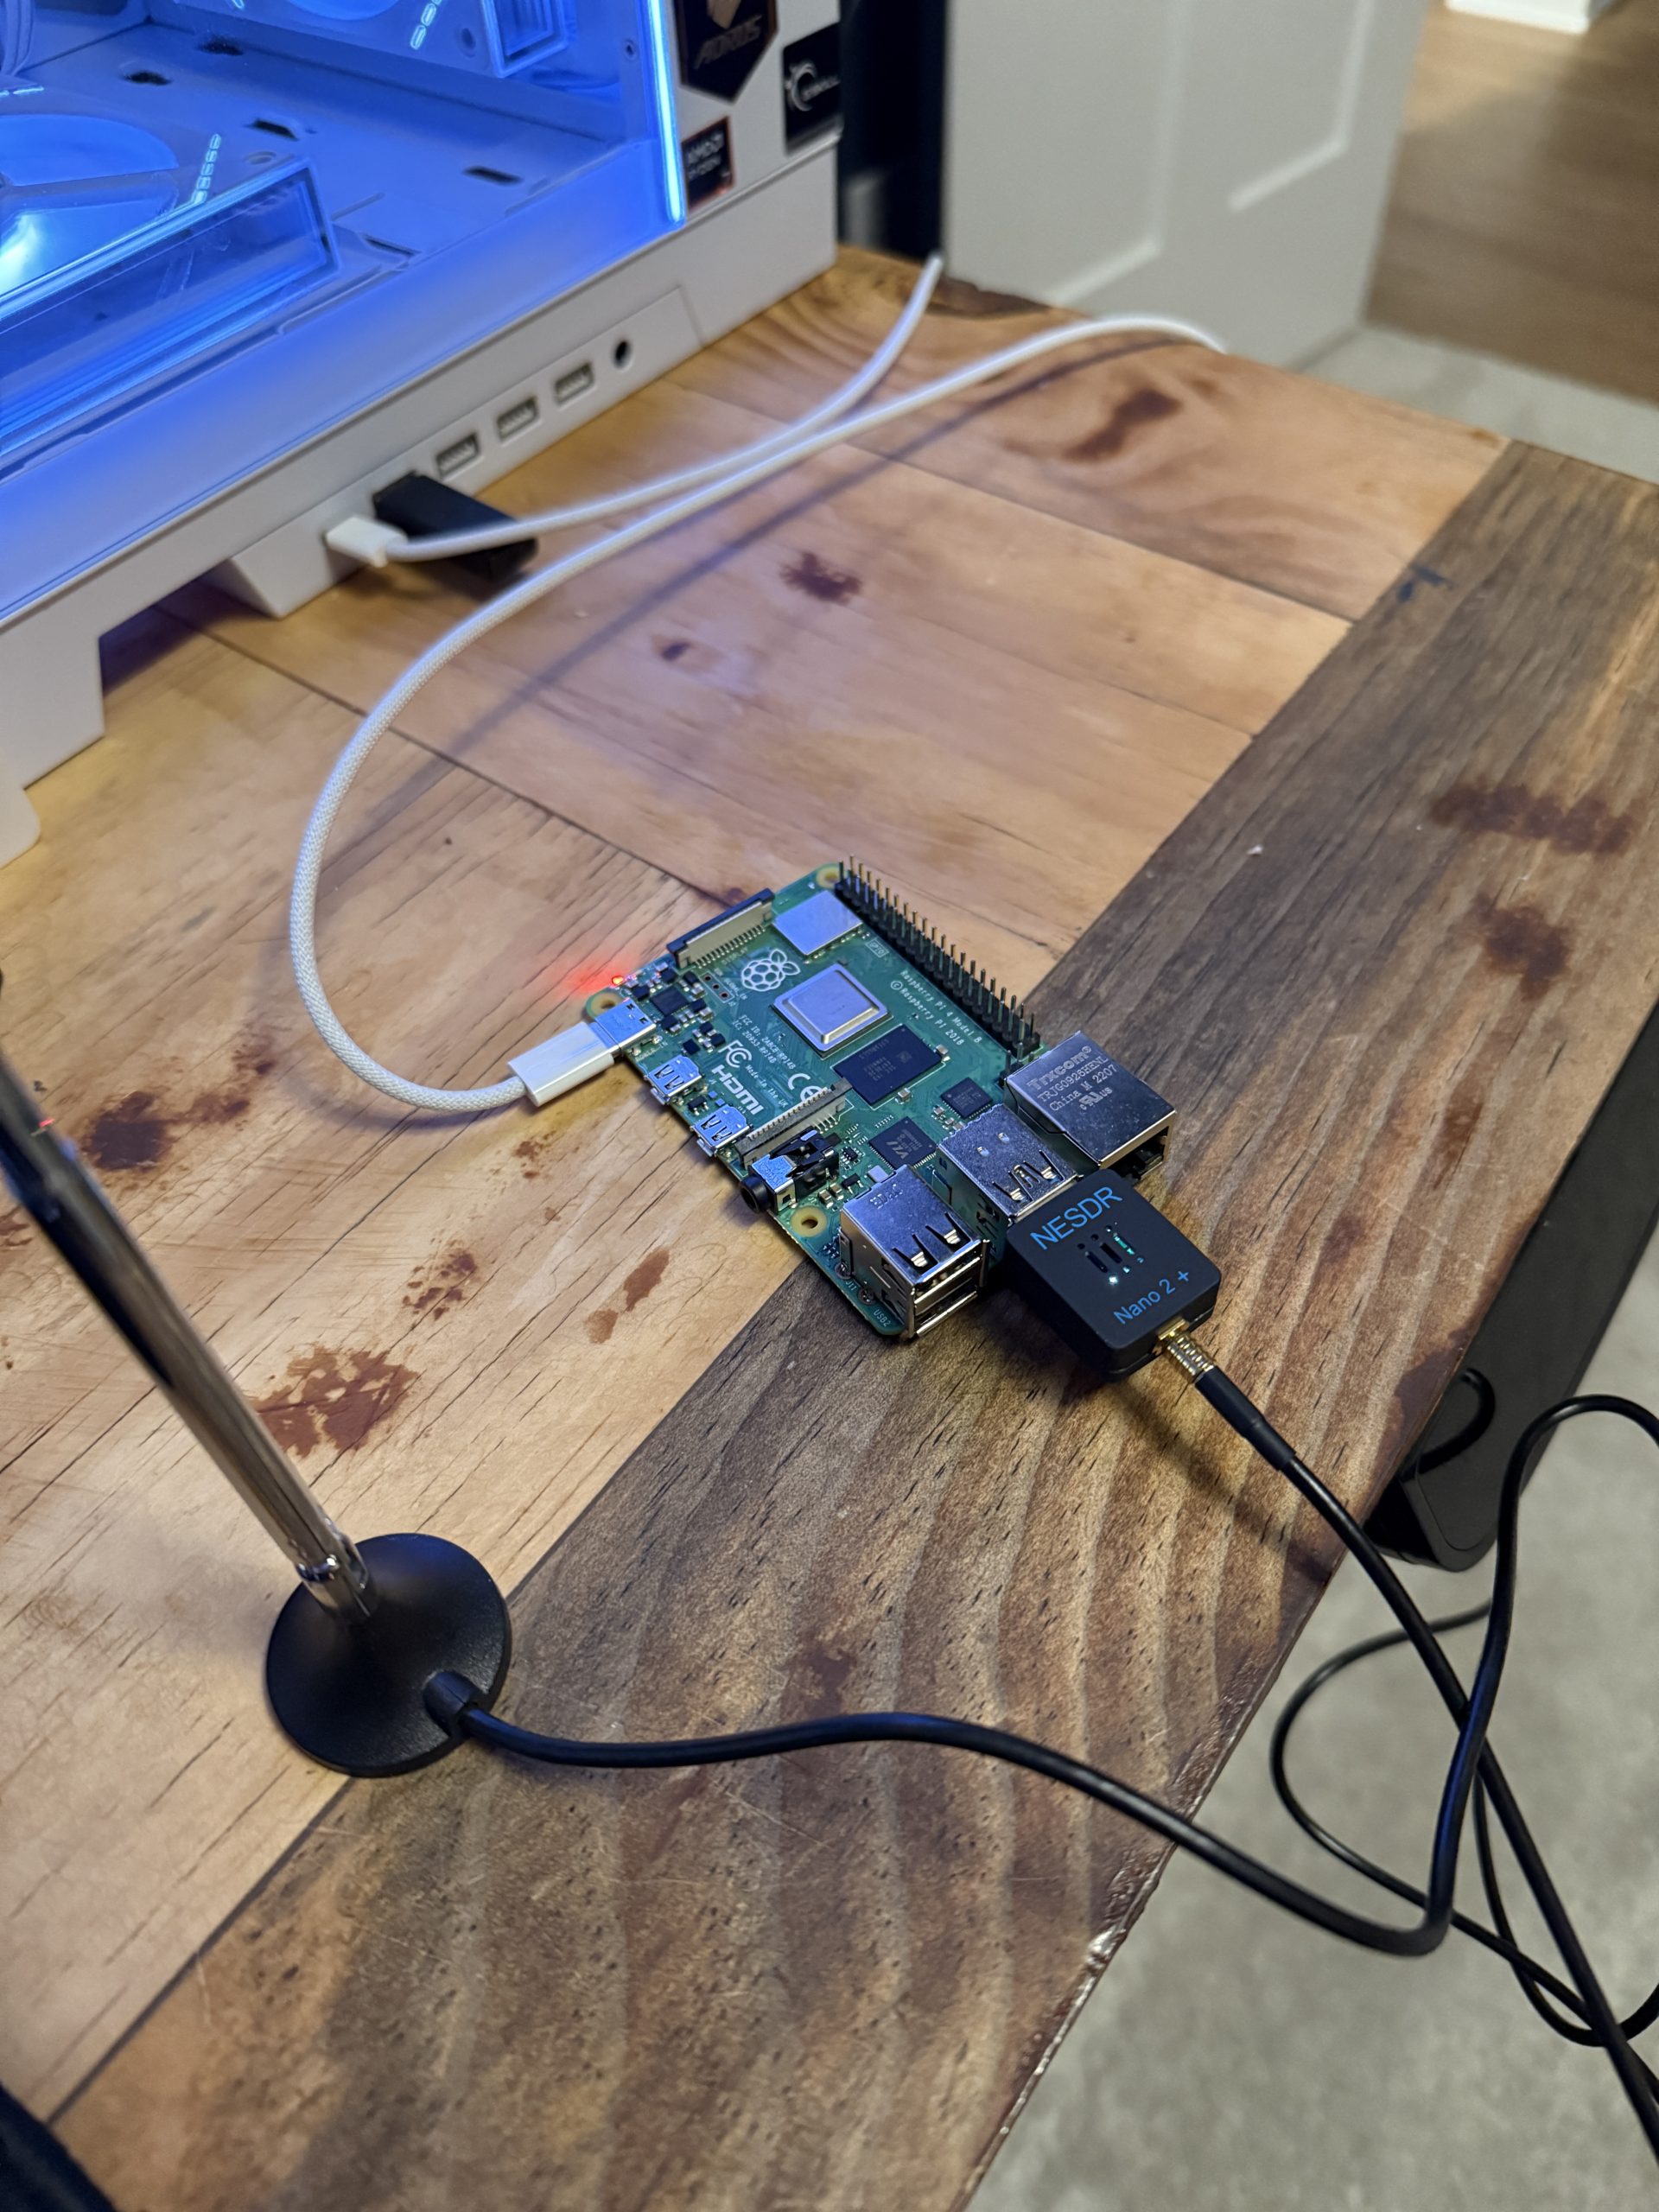
My first approach was based on the first forum post I found on the subject located here. I ordered one of these usb dongles, setup a Raspberry Pi 4 I had sitting around with Raspberry Pi OS. While this exact route didn’t go where I wanted it to, it was a good start to understand what could be seen with this specific radio.
This is a mix of using a few software packages for the SDR dongle and then using another to send the proper data over to Home Assistant via MQTT.
What I expected to happen and what went wrong
I somewhat expected everything to just work after running through all the commands. After fussing with it for a few hours, it seemed that I couldn’t quite get the MQTT configuration just right. I could get it to detect my meter, but it was not sending it over to my Home Assistant instance no matter what I tried. I simply chalked it up to the thread being 6 years old and it could be possible that the software libraries changed just a bit.
What went well
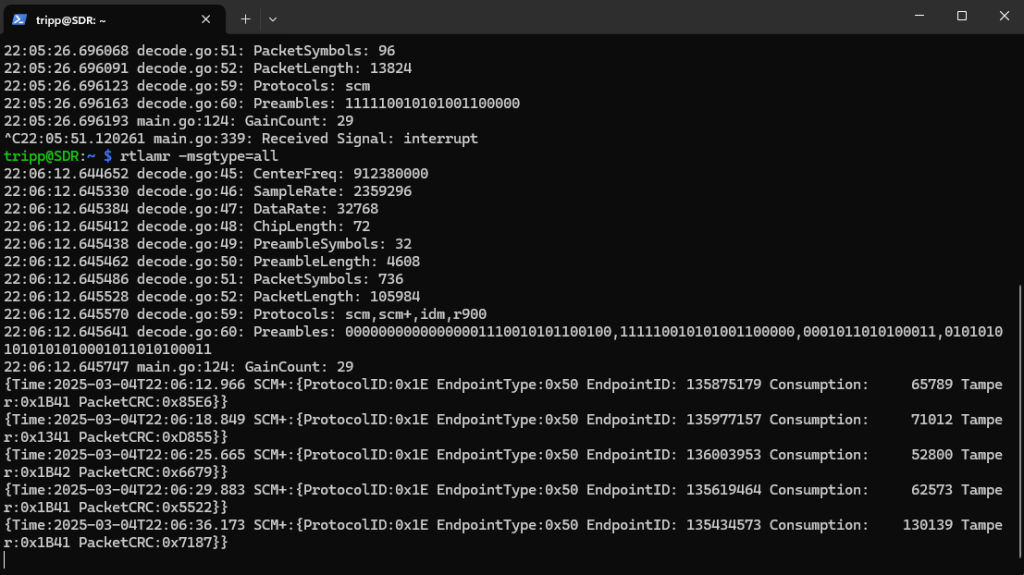
What I was able to do was that I was able to get RTLAMR installed and understand exactly what the SDR dongle does see when it’s working. Once RTLAMR is installed you can open two separate console windows and run the following commands:
Terminal A
$ rtl_tcpTerminal B
$ rtlamr -msgtype=allYou will get an output like in the picture below. This allowed me to compare the serial number and consumption number on the physical meter with what was showing in the window to confirm it was properly picking up my gas meter. I did have to wait about 5 minutes for it to show up as most meters only send that information out every 3-5 minutes. This is generally frequent enough for the worker driving by to pick up a single reading for a monthly comparison.
Second Attempt: The Working Solution
Adjustments made after the first attempt
I did some more research on the topic and eventually found a docker container called RTLAMR2MQTT. It seemed like a slightly more recent way to do the same thing I attempted the first time around. I spent a few minutes installing docker and getting the container setup and then used the exact config they recommended with my gas meter’s serial number subbed in and my Home Assistant’s MQTT server info put in too:
# -- Configuration file starts here --
# (Optional section)
general:
  # Sleep for this amount of seconds after one successful reading of every meter
  # This parameter is helpful to keep CPU usage low and the temperature low as well
  # Set this to 0 (default) to disable it
  sleep_for: 300
  # Set the verbosity level. It can be debug or info
  verbosity: debug
  # Enable/disable the tickle_rtl_tcp. This is used to "shake" rtl_tcp to wake it up.
  # For me, this started to cause the rtl_tcp to refuse connections and miss the readings.
  # This may help with a remote rtl_tcp server.
  tickle_rtl_tcp: false
  # (Optional) USB Device ID. Use lsusb to get the device ID
  # Use "single" (default) if you have only one device
  # device_id: 'single'
  device_id: '0bda:2838'

# MQTT configuration.
mqtt:
  # Whether to use Home Assistant auto-discovery feature or not
  ha_autodiscovery: true
  # Home Assistant auto-discovery topic
  ha_autodiscovery_topic: homeassistant
  # Base topic to send status and updates
  base_topic: rtlamr
  # By default, leaving host, port, user, and password unset will tell
  # rtlamr2mqtt to use the default home assistant mqtt settings for those
  # options. If needed, you can override these default settings:
  # MQTT host name or IP address.
  host: 192.168.10.32
  # MQTT port.
  port: 1883
  # TLS Enabled? (False by default)
  tls_enabled: false
  # TLS CA certificate (mandatory if tls_enabled = true)
  tls_ca: "/etc/ssl/certs/ca-certificates.crt"
  # TLS server certificate (optional)
  tls_cert: "/etc/ssl/my_server_cert.crt"
  # TLS self-signed certificate/insecure certificate (optional, default true)
  tls_insecure: true
  # MQTT user name if you have, remove if you don't use authentication
  user: mqtt
  # MQTT user password if you use one, remove if you don't use authentication
  password: my-very-strong-password

# (Optional)
# This entire section is optional.
# If you don't need any custom parameter, don't use it.
# ***DO NOT ADD -msgtype, -filterid nor -protocol parameters here***
# -d parameter is not necessary anymore if you use device_id
custom_parameters:
  # Documentation for rtl_tcp: https://osmocom.org/projects/rtl-sdr/wiki/Rtl-sdr
  rtltcp: "-s 2048000"
  # Documentation for rtlamr: https://github.com/bemasher/rtlamr/wiki/Configuration
  # If you want to disable the local rtl_tcp and use an external/remote one, you must add "-server=remote-ip-address:port" to the rtlamr section below.
  rtlamr: "-unique=true -symbollength=32"

# (Required section)
# Here is the place to define your meters
meters:
    # The ID of your meter
  - id: <my-serial-number>
    # The protocol
    protocol: scm+
    # A nice name to show on your Home Assistant/Node Red
    name: meter_water
    # (optional) A number format to be used for your meter
    format: "######.##"
    # (optional) A measurement unit to be used by Home Assistant
    # Typical values are ft³ and m³ (use the superscript) for water/gas meters
    # and kWh or Wh for electric meters
    unit_of_measurement: "ft³"
    # (optional) An icon to be used by Home Assistant
    icon: mdi:gauge
    # A device_class to define what the sensor is measuring for use in the Energy panel
    # Typical values are "gas" or "energy". Default is blank.
    device_class: water
    # "total_increasing" for most meters, "total" for meters that might go
    # backwards (net energy meters). Defaults to "total_increasing" if unset.
    state_class:
# -- End of configuration file --
This is where the first, failed attempt was important. I knew the protocol of my meter (SCM+), the format of the number it outputs and the unit of measurement I should use (ft³ vs m³ as this config calls out).
Integrating the Data Into Home Assistant as a Sensor
The next part of this was getting the data into Home Assistant. There are some pieces in the above configuration for Home Assistant auto discovery but it wasn’t quite working right for me. I went into configuration.yaml and setup my own entity like this (replace id_number with the serial number you used above):
mqtt:
  sensor:
    - name: "Gas Meter"
      state_topic: rtlamr/id_number/state
      unit_of_measurement: "ft³"
      device_class: "gas"
      state_class: "total_increasing"
The important thing here is matching the state topic to what is being sent over from rtlamr2mqtt. To see exactly what this was, I downloaded MQTT Explorer and pointed it at my Home Assistant’s MQTT server to watch what was being sent over.
Once I had this setup I was able to add the entity to my energy dashboard as seen below. I also added a helper entity that holds the current gas cost based on what my gas utility bill shows. This cost doesn’t auto update as I had just pulled in the normal cost/ft³ and also averaged in the flat rate costs I have to pay my gas provider. I may look at this each month and make sure the cost changes to reflect any updates to flat rate charges. It’s not perfect for cost, but it shows me a close number at least. You can definitely write out a template to factor in those extra flat rate costs but for now this will do. Once I get my water and solar integrated, then I will likely go back and make those calculations more exact.

Other Meters That May Work With Your SDR
Different Types of Meters That Broadcast Wireless Signals
Many modern utility meters use radio signals for remote readings. Common types include:
Electric meters: Some models broadcast usage data that can be picked up by the dongle. I was not able to pickup mine, or at least match any data (serial and consumption) from the meter to what was being output by the dongle and software.
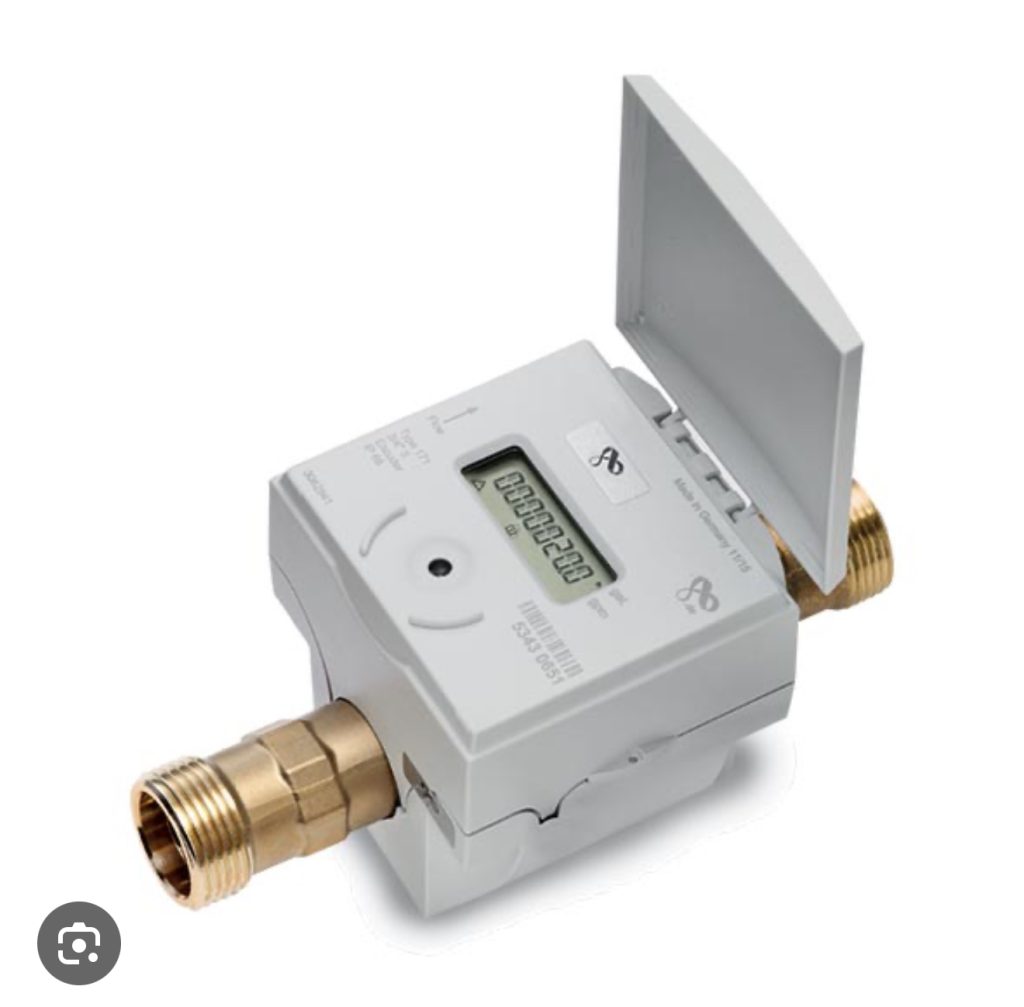
Water meters: Also often use low-power RF signals for drive-by meter readings. I let the system run for 5 days on 5 different protocols (24 hours per protocol) to try and pick it up but it never found it. Although I found a different way to detect usage (coming soon).
Conclusion
What I Learned From the Process
SDR is a powerful tool for capturing wireless meter data, but success depends on the specific meter model and transmission protocol. While SDR provides a passive and flexible approach, decoding data requires trial and error. In the end, it’s interesting understanding the amount of gas we use and how it compares to the outside temperature and what we can expect a normal day of gas to cost. I think it will also be useful to track down un-economic usage of our furnace if we ever start getting high bills.
Resources for Others Looking to Try This Themselves
By leveraging SDR, Home Assistant users can unlock valuable insights from their gas meters without relying on proprietary utility tools and keep all the data reliance locally instead of relying on the cloud.